Draw Pokemon: Pokemons right? Who doesn’t love pokemon? None of us can deny that we wanted to have our own pokemon during our childhood. These little cute creatures were the main topic of discussion among our friends.
- How to draw a cow
- How to draw a Butterfly
- How to draw a dragon
- How to draw a rose
- How to draw a dog
- How to draw a face
- How to draw lips
- How to draw eyes
- How to draw hair
- How to draw a snake
- How to draw a owl
- How to draw a tree
- How to draw clouds
- How to draw a horse
- How to draw People
Pokemons were of various types like fire (Charizard), water (Squirtle), grass, ghost (Gengar) and legendary. Do you remember these? Comment your favorite pokemon below, then I will tell you the steps to draw your favourite pokemon?
How to Draw a Pokemon?
Drawing pokemons isn’t that tedious. Their structure is quite simple and children love to draw such kind of things. So, I thought why don’t we learn how to draw them? You such always begin your starting stage of drawing career with all these type of small pictures. Once you get thorough and have confidence in yourself, then you can master any art. So, always be creative, keep on thinking new ideas, and try to sketch them irrespective of the genre.
How to Draw a Pokemon step by step Easy for Kids?
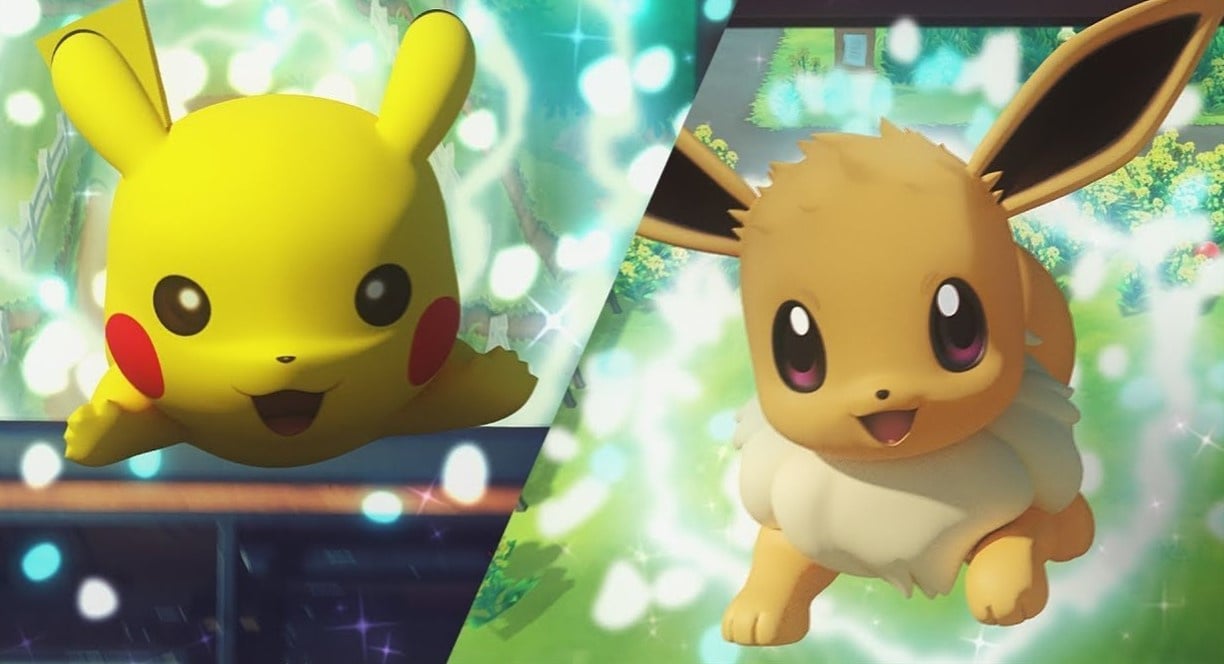
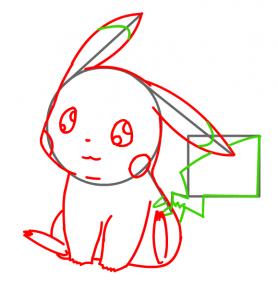
Today, we will start with one of the most favourite pokemons. YEAH, you are right, it’s Pikachu. The cute little thunder Pokemon trained by Ash. Enough about Pikachu, let’s get back to draw it.
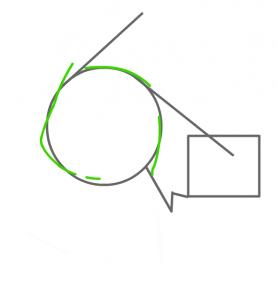
Step 1 To get the right proportions, first draw the outlines.
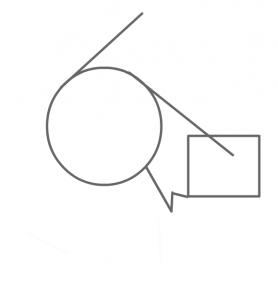
Step 2 Draw a circle which the shape of head can follow.
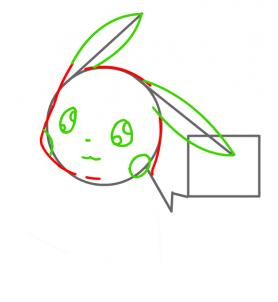
Step 3 We’re going to work with the ears and facial features now. The ears have a feather-like shape. Pikachu’s eyes are circular in shape, but here we have drawn a rounded triangle shape. Keep in mind that the cheeks aren’t round perfectly.
Step 4 The arms are short and stout and have little short fingers at the end too.
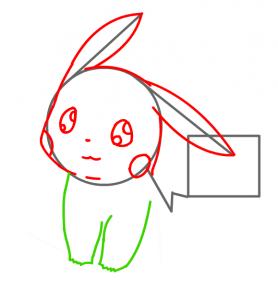
Step 5 The body shape is quite different which is partly covered by his arm and his feet are also very long.
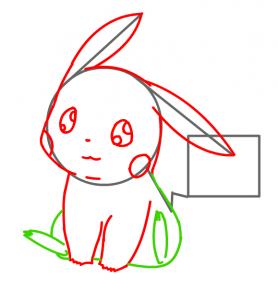
Step 6 The last step is to complete all the remaining parts i.e. draw Pikachu’s tail and markings on the ears and tail.
Step 7 Now, you are ready with your own Pokemon. I hope you enjoyed your 1st Pokemon drawing. Leave a comment below.

How to Draw a Pokeball?
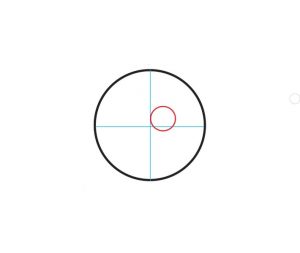
Step 1 Draw a perfect circle.

Step 2 Mark the center and draw a circle in the first quadrant as shown.
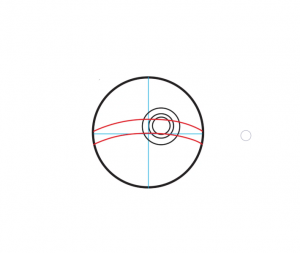
Step 3 Draw a smaller circle inside it and a larger circle around it.

Step 4 Draw 2 curved lines through all the inner circles.
Step 5 Draw a circle in the top left hand corner.
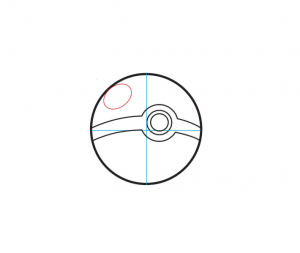
Step 6 Draw a curved in the bottom area and on the left of the center as shown in the figure.
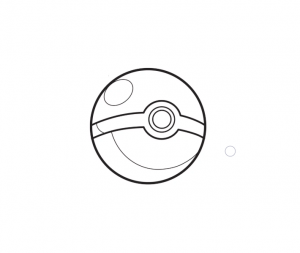
Step 7 All our outlines are ready, just color it as we have to give it a realistic look.

Way to Draw Legendary Pokemon
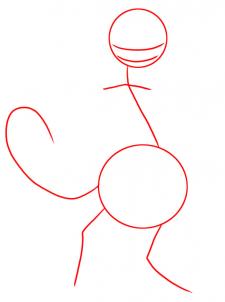
Which legendary pokemon do we choose? Mewtwo!!! We will learn the simple tricks to draw it. Grab your pen and follow my steps.
Step 1 First we will draw a circle for the head and the mark the facial outlines. In the next step, we will draw a long tilted line for the chest’s line of position and then larger circle for the bottom of Mewtwo is drawn. After that is complete we can draw the leg and tail lines.
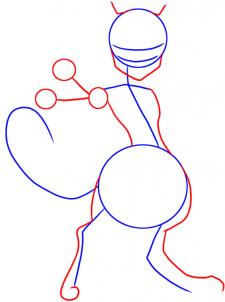
Step 2 We will now work upon the body of Mewtwo. Draw the ear lines and the outlines for his hand. Give a diamond shape to his lower facial structure or jaw. After this, we will draw out the shape of his legs as well as his feet.
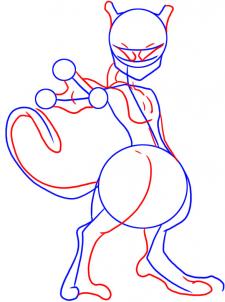
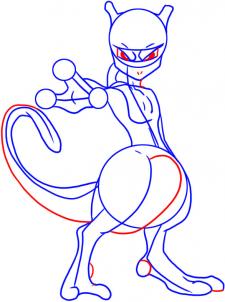
Step 3 We continue working with the body. Complete the ears and then move on to the back of the neck. After that draw out the shape of his hand and start detailing the palm. We will then make the tail thicker. Start detailing the chest and add definition to the eyebrows. Our motive is to make him look evil.
Step 4 This is the last step and we will color and give shape to his eyes and then give two tiny marks for his nose. After completion of this, the neck is made thicker as well as his tail. Erase all the outlines that we had drawn.
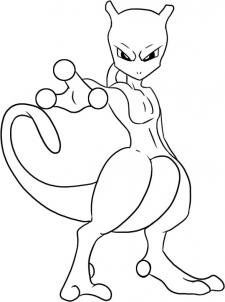
Step 5 Congrats! You have even completed your Mewtwo tutorial. Just color it to complete your amazing work.
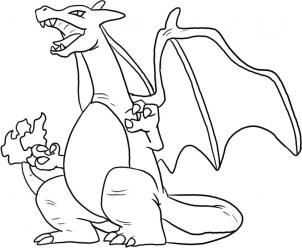
How to Draw Pokemon Charizard?
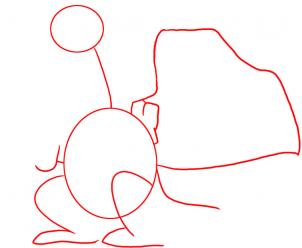
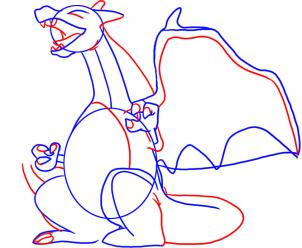
Step 1 First we will draw a small circle shape for Charizard’s head and then another circle is drawn for his upper body. Draw the outline for his wing and then mark the limb lines for the arm, hands, legs and the tail.
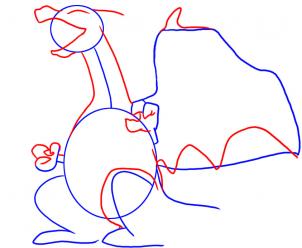
Step 2 Draw the shape of his open mouth which includes his snout and bottom jaw. Draw its wing as illustrated. Draw out his clinched clawed hands that have two fingers and one thumb.
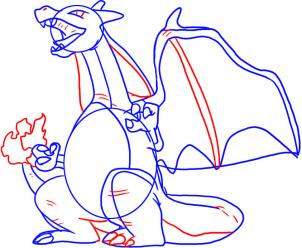
Step 3 Now we work with the inside of the covering of his mouth and add four teeth. We try and work with his eye a little more and then draw the remaining of his horns. Back of the neck is made thicker and then draw the inline on his wing. Give a perfect shape to the arms and draw small lines to show the claws on both the hands and feet, and then at last finish his tail with more detail and depth.
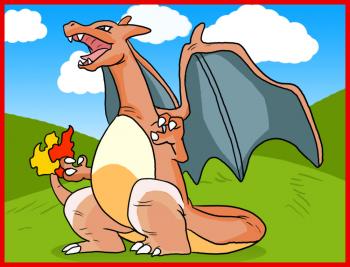
Step 4 Draw an eyeball and then detail the covering of Charizard’s mouth. Complete the wing on the left and start detailing it as well and then give skin like marks to his neck and tail. Finish off the shape of his tail and cover it with fire. Erase all the outlines from Step 1.
Step 5 You have successfully learnt how to draw Charizard. Just color your picture to make it look real.