Bem-vindo ao tutorial, today we will be learning the steps to draw a mouse for kids. Vamos começar com alguns fatos interessantes. A mouse is a small rodent mammal. há mais de 30 species of mouse.
- Como desenhar uma vaca
- Como desenhar uma borboleta
- Como desenhar um dragão
- Como desenhar uma rosa
- como desenhar um cachorro
- Como desenhar um rosto
- como desenhar labios
- como desenhar olhos
- como desenhar cabelo
- Como desenhar uma cobra
- Como desenhar uma coruja
- Como desenhar uma árvore
- como desenhar nuvens
- Como desenhar um cavalo
- como desenhar pessoas
They are nocturnal animals even though they have poor eyesight, they manage with their powerful hearing and smelling senses. They use their whiskers to sense any temperature change and help them to know the surface on which they are walking. These rodents are the most commonly used for any type of scientific experiment. Their life span is around 2 years, but due to large number of predators they normally survive only around 6 months. Walt Disney was the first to use a character of mouse i.e. Mickey Mouse in cartoons for children.

Enough knowledge about mice, I think. Sem mais demora, let’s get with our drawing.
How to Draw a Mouse for Kids?
Etapa 1 Draw an outline for the body of the mouse which is simply like the shape of a rock.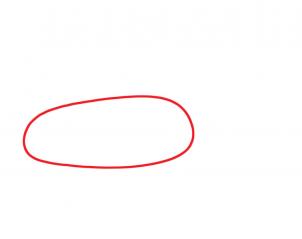
Etapa 2 Now using the outline, we draw the real body of the mouse. Draw a pointed tip for the nose followed by a smooth curve for the head. Then draw the ear which is kind of a medium sized circle. Depois disto, continue from the ear to a thick fat body of the mouse.
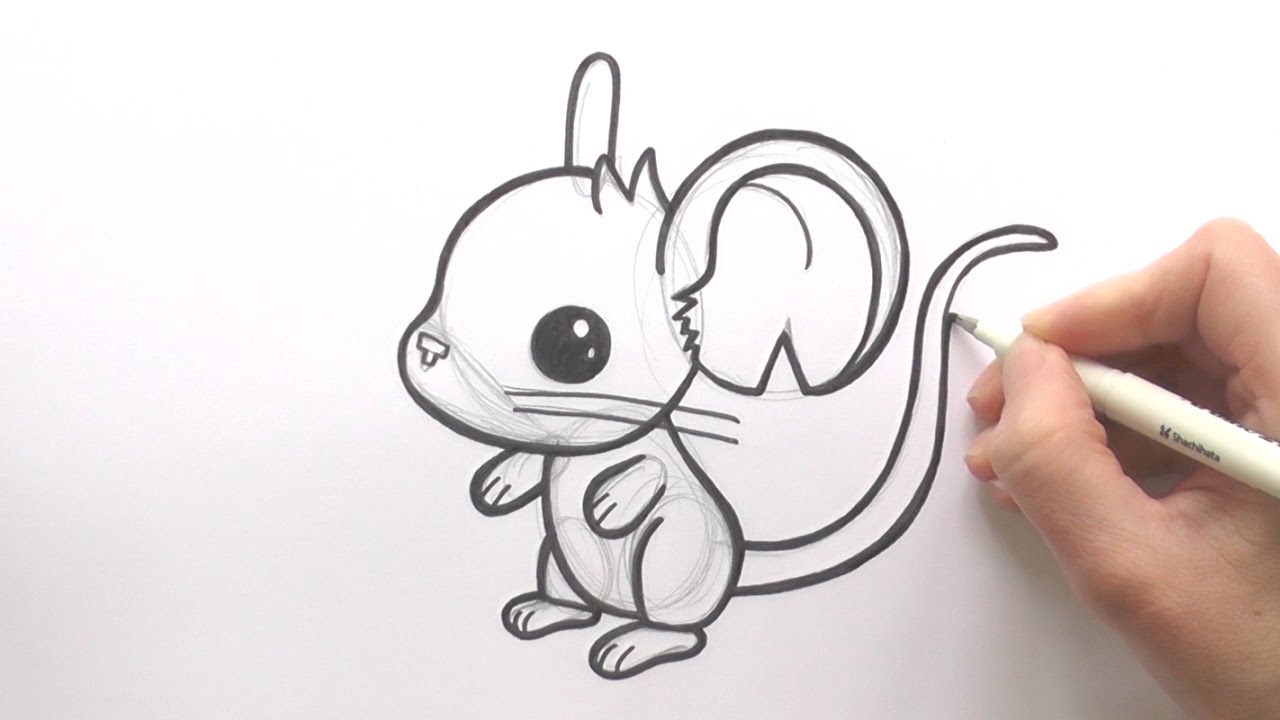
Etapa 3 Draw a small circular eye and give the reflections. Draw some whiskers and draw a long wavy tail. Erase any unwanted lines in the figure.
Etapa 4 Now you have your cartoon mouse ready. Think and give him a name.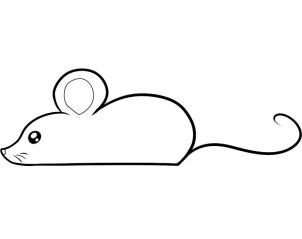
How to Draw a Mouse step by step?
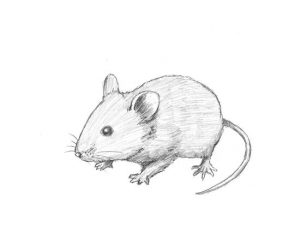
The figure we drew in the above steps was simply a learning figure for the kids. The next step is to draw a more realistic mouse. I will share with you the shading techniques which you must follow to achieve that. If you are a beginner then you are at the right place because by following the steps that I have written below, you can easily draw a realistic mouse.
Draw a Mouse for Beginners
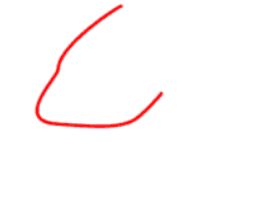
Etapa 1 Draw a tilted U like shape for the head with a slightly pointed tip for the nose.
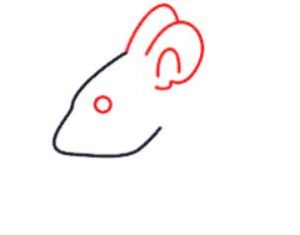
Etapa 2 Draw a small circular eye and two long ears at the back of the head.
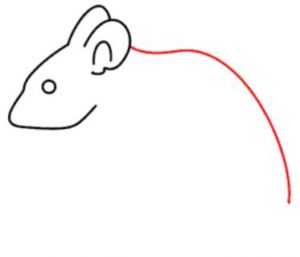
Etapa 3 Starting from the ear draw a long curved line to form the back of the body.
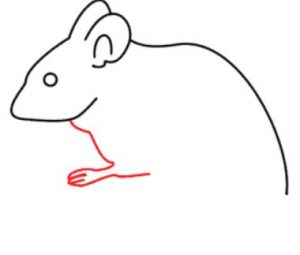
Etapa 4 From the bottom of the head, draw a small neck line and a short front leg also as shown.
Etapa 5 After the front leg, continue to draw a straight to form the bottom of the belly then draw the hind legs which are thin and short. Continue the line but not make them meet with the back of the top body, leave some gap for the tail.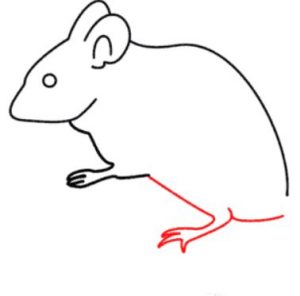
Etapa 6 From the gap, empate 2 parallel curved long lines which becomes thin towards the end and join.
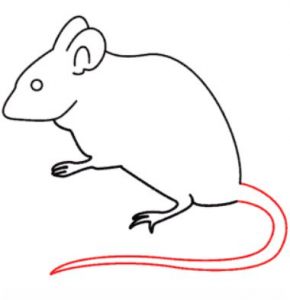
Etapa 7 Now we just need to draw the remaining pairs of front and hind legs.
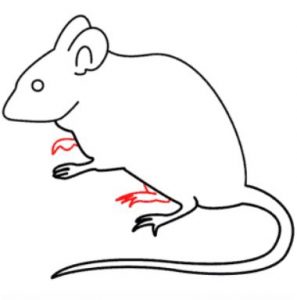
Etapa 8 You have your mouse ready i.e. the structure is ready but to make it realistic it needs to be shaded nicely, so follow the picture given below to get ideas for the shadowing technique.