チュートリアルへようこそ, 今日は、 子供向けにマウスを描く手順. いくつかの興味深い事実から始めましょう. マウスは小型のげっ歯類の哺乳類です. 以上のものがあります 30 ネズミの種類.
視力は悪くても夜行性の動物です, 彼らは強力な聴覚と嗅覚を使って対処します. 彼らはひげを使って温度変化を感知し、自分が歩いている表面を知るのに役立ちます。. これらのげっ歯類は、あらゆる種類の科学実験に最もよく使用されます。. 彼らの寿命は近い 2 年, しかし、捕食者が多いため、通常は周囲でのみ生き残ることができます。 6 月. ウォルト・ディズニーはネズミのキャラクターを初めて使用しました。. 子供向けアニメのミッキーマウス.

マウスに関する十分な知識, 私が思うに. これ以上遅れることなく, 絵を描いてみましょう.
子供向けのネズミの描き方?
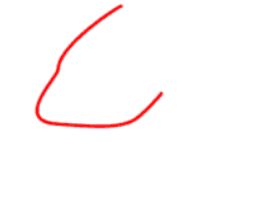
ステップ 1 単純に岩の形に似たマウスの体の輪郭を描きます.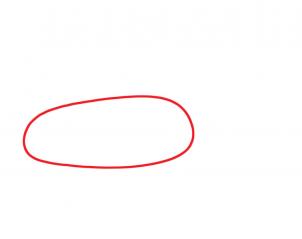
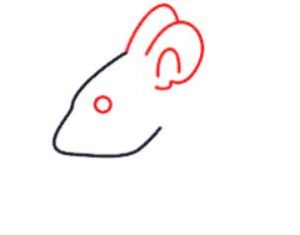
ステップ 2 今アウトラインを使用しています, マウスの実際の体を描きます. 鼻は尖った先端を描き、頭は滑らかな曲線を描きます. 次に、中くらいの大きさの円の耳を描きます。. この後, 耳からマウスの分厚い脂肪体まで続く.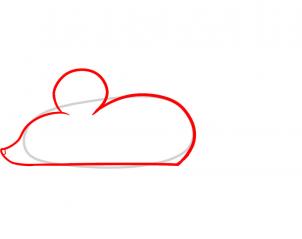
ステップ 3 小さな丸い目を描いて反射を与えます. いくつかのひげを描き、長い波状の尾を描きます. 図形内の不要な線を消去します.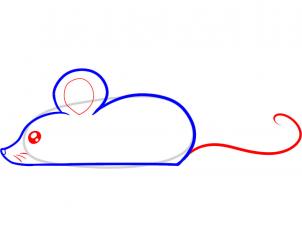
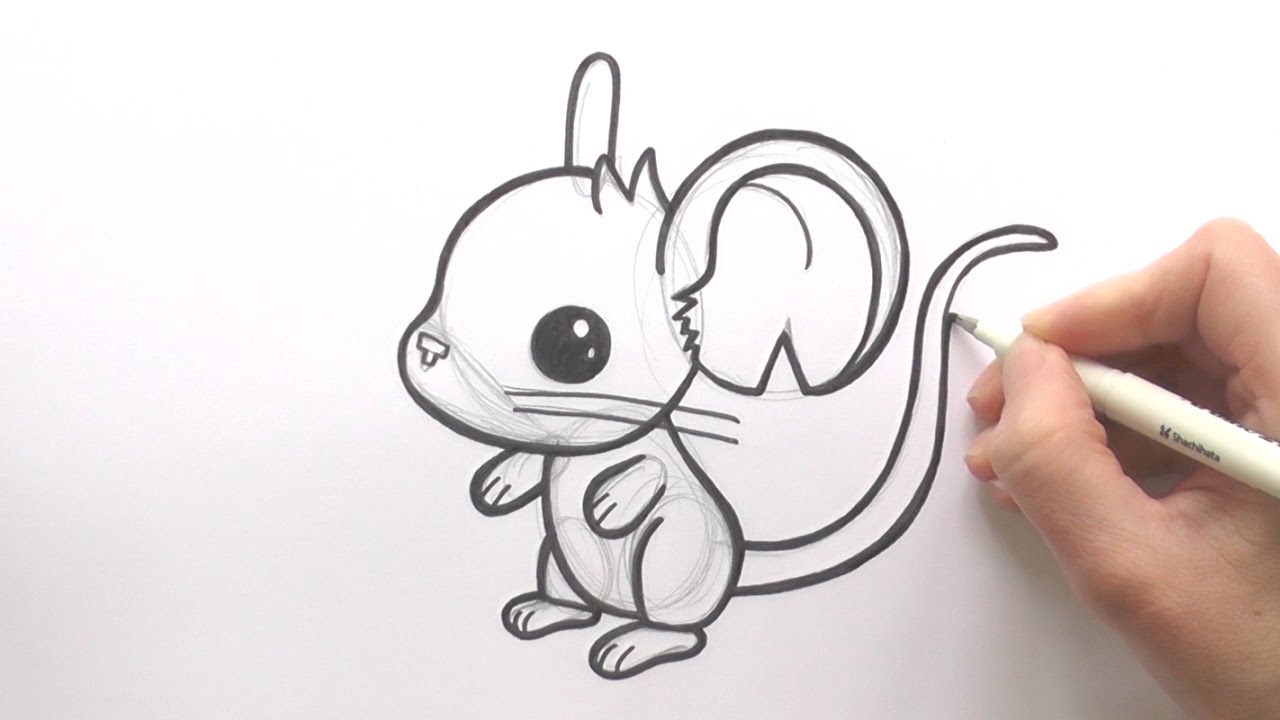
ステップ 4 これで漫画のマウスの準備ができました. 考えて彼に名前を付けてください.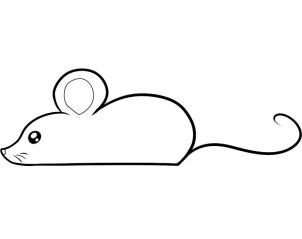
段階的にマウスを描く方法?
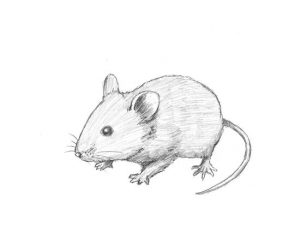
上記の手順で描いた図は、単に子供たちの学習用の図でした。. 次のステップは、より現実的なマウスを描画することです。. それを達成するために従う必要があるシェーディングテクニックを共有します。. あなたが初心者であれば、以下に書いた手順に従ってください。, リアルなマウスを簡単に描くことができます.
初心者向けのマウスの描き方
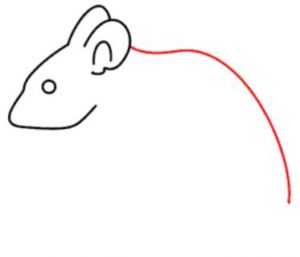
ステップ 1 頭は傾いたUのような形を描き、鼻は少し尖った形にします。.
ステップ 2 頭の後ろに小さな丸い目と 2 つの長い耳を描きます。.
ステップ 3 耳から始めて長い曲線を描き、体の後ろを形成します.
ステップ 4 頭の底から, 図のように、小さな首のラインと短い前脚を描きます。.
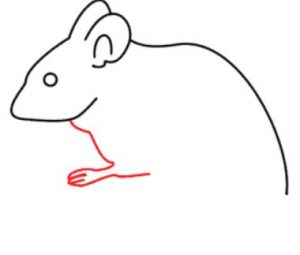
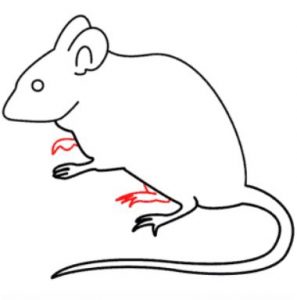
ステップ 5 前足のあと, お腹の底を描くようにまっすぐに描き続けてから、細くて短い後ろ足を描きます. ラインを続けますが、上半身の後ろに合わせないようにしてください, 尻尾のための隙間を残す.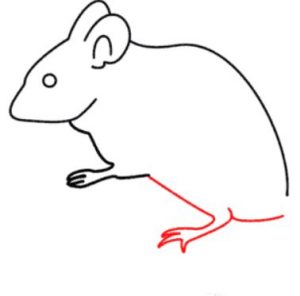
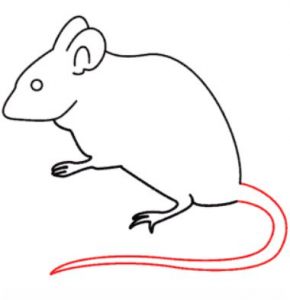
ステップ 6 隙間から, 描く 2 平行に曲がった長い線が、端に向かって細くなり、結合します。.
ステップ 7 ここで、残りの前脚と後脚のペアを描画するだけです。.
ステップ 8 マウスの準備ができました。つまり、. 構造は準備ができていますが、現実的にするには、適切にシェーディングする必要があります, シャドーイング手法のアイデアを得るには、以下の図に従ってください。.