Desenul norilor: Wow nori!!! Salutare copii, Ce mai faceti? Personal vorbind, Sunt foarte fascinat de nori. În copilăria mea, Eram întotdeauna obișnuit să mă uit la forma diferită a norilor, ceea ce mi s-a părut foarte interesant.
- Cum să desenezi un Pokemon
- Cum să desenezi un Pikachu
- Cum să desenezi o gură
- Cum să desenezi o mână
- Cum să desenezi un Superman
- Cum să desenezi o stea
- Cum să desenezi un Sonic
- Cum să desenezi o minge de baschet
- Cum să desenezi un creier
- Cum să desenezi un Cupcake
- Cum să desenezi un Emoji
- Cum să desenezi un Sărut
- Cum să desenezi un șoarece
- Cum să desenezi un nas
- Cum să desenezi un leu
- Cum să desenezi o maimuță
- Cum să desenezi o mașină
- Cum să desenezi un Deadpool
- Cum să desenezi un căprior
- Cum să desenezi un Doraemon
Uneori ar semăna cu un obiect din viața reală, cum ar fi un animal, jucării, etc. Noaptea era cea mai frumoasă când cerul albastru închis era plin de stele. Pe parcursul furtuni, norii violenți și sunetele tunătoare obișnuiau să mă sperie naibii. Acum să revenim la cum să desenezi norii.

În acest tutorial, Vă voi învăța să desenați diferite tipuri de nori, de la cei simpli la cei complecși. Partea de conturare ar fi ușoară, dar munca principală este umbrirea.
Sper că practicați alte imagini pentru propria voastră practică, pentru a vă face mâna artistică. Amintiți-vă că desenul nu poate fi introdus pe cineva cu lingura. Este nevoie de multă muncă grea, imaginație și idei inovatoare. Deci, pe lângă exersarea tuturor imaginilor pe care vă învăț. Încearcă să schițezi orice îți vine în minte pe o bucată de hârtie. Aceste idei ar fi originale, deoarece au venit de la tine doar nimeni altcineva. Încercați să fiți unici și să desenăm nori acum...
Așa că copiii se grăbesc și vă iau pixurile și hârtia în timp ce mergem în tărâmul norilor.
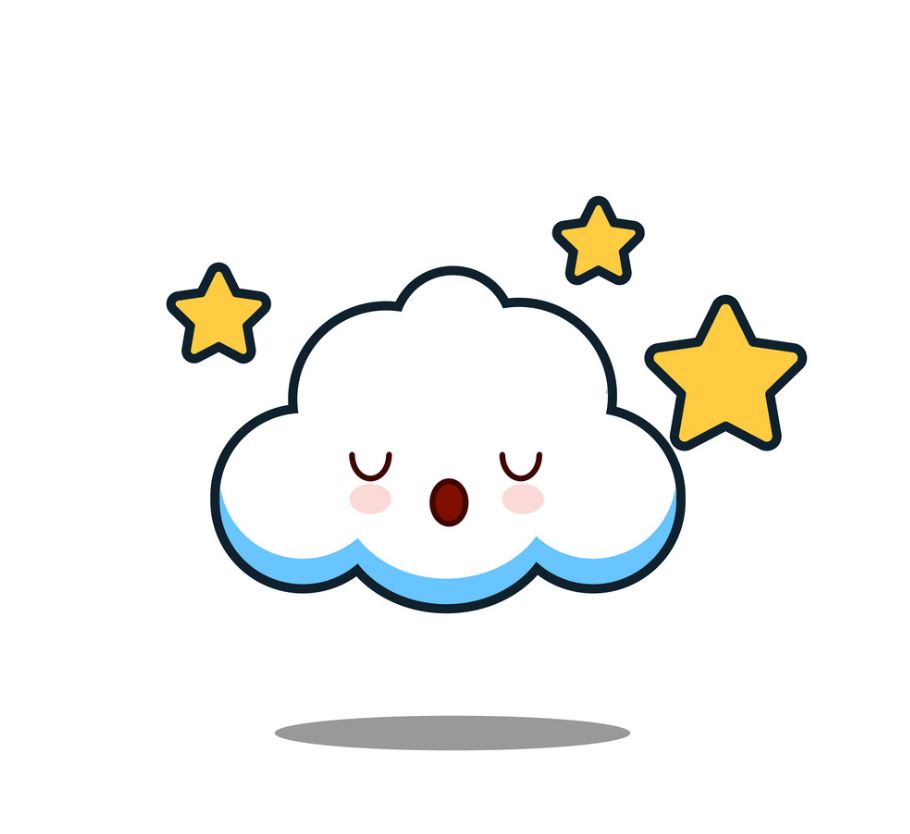
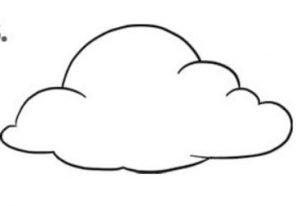
Cum să desenezi un nor simplu și drăguț?
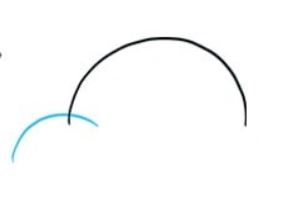
Etapa 1 Desenați un semicerc deschis pentru vârful norului.

Etapa 2 O altă linie curbă mică este trasată tăind-o pe cea de mai sus, pentru a extinde regiunea norului.
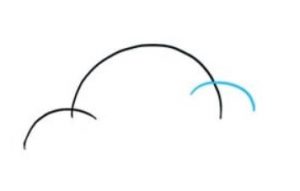
Etapa 3 O altă linie curbă mică este trasată în partea opusă pentru a face norul să arate pufos.
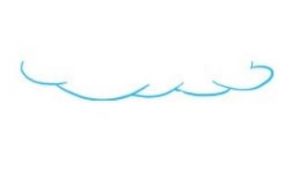
Etapa 4 O serie de linii curbe conectate sunt desenate pentru a forma baza norului dintr-o parte care continuă până pe cealaltă parte..
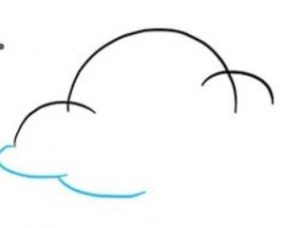
Latură 5 Ștergeți liniile unde se suprapun norii.
Etapa 6 Acum încercăm să creștem textura norului. Vom desena mai multe linii curbe în nor pentru a da un aspect pufos și, de asemenea, pentru a forma niște spirale.
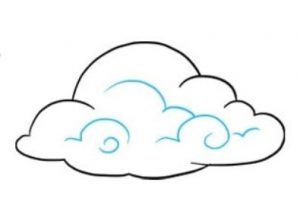
Etapa 7 Vom desena un alt nor chiar în spatele lui prin același proces de linii curbe conectate pentru a-i da o formă pufoasă.

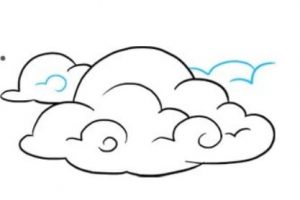
Etapa 8 Umpleți interiorul noului nor exact așa cum am făcut-o înainte și colorați-l cu nuanțe de albastru deschis.

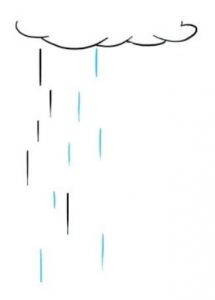
Cum să desenezi un nor de ploaie?
Etapa 1 Desenați o serie de linii curbe conectate pentru a forma partea de jos a norului.
Etapa 2 Acum vom desena dungi de ploaie sub nor printr-un număr de linii drepte scurte de diferite lungimi.
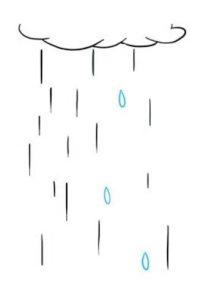
Etapa 3 Acum trageți picături de apă împreună cu dungile de ploaie.
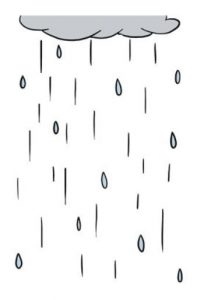
Etapa 4 Umpleți-vă desenul cu linii drepte și picături pentru a vă finaliza desenul.
Cum să desenezi un nor de furtună?
Etapa 1 Desenați un semicerc deschis pentru vârful norului.
Etapa 2 O altă linie curbă mică este trasată tăind-o pe cea de mai sus, pentru a extinde regiunea norului.
Etapa 3 O altă linie curbă mică este trasată în partea opusă pentru a face norul să arate pufos.
Etapa 4 O serie de linii curbe conectate sunt desenate pentru a forma baza norului dintr-o parte care continuă până pe cealaltă parte..
Latură 5 Ștergeți liniile unde se suprapun norii.
Etapa 6 Acum încercăm să creștem textura norului. Vom desena mai multe linii curbe în nor pentru a da un aspect pufos și, de asemenea, pentru a forma niște spirale.
Etapa 7 Acum desenați fulgere întinse în formă de Z sub baza norului pentru a vă finaliza desenul.

Cum să desenezi un nor de ciuperci?
Etapa 1 Mai întâi desenați o figură mare în formă de ou pentru partea de sus a norului și dedesubt desenați o altă formă de ou mică. Conectați ambele figuri printr-o linie verticală lungă care trece prin mijlocul lor și trageți o orizontală pentru a intersecta linia verticală aproape de mijloc..

Etapa 2 Urmând conturul circular, trageți o serie de linii curbe conectate pentru a forma o structură asemănătoare unui copac atât în partea de sus, cât și dedesubt. Acestea sunt conectate printr-o formă de lentilă concavă.

Etapa 3 În acest pas vom desena mai multe forme de nori în norul mai mare din partea de sus pentru a-l face să arate pufos. Un inel mare este desenat în jurul structurii concave. Și în forma inferioară desenăm mici serii de curbe.

Etapa 4 Desenați mai multe linii de nor în interiorul norului mai mare pentru a completa forma. Desenați un alt inel mic în interiorul inelului mai mare. Desenați un număr de linii curbe în partea de jos a structurii concave. Ștergeți toate contururile.

Etapa 5 Aceasta este imaginea finală a norului ciuperci.

Cum să pictezi un nor?
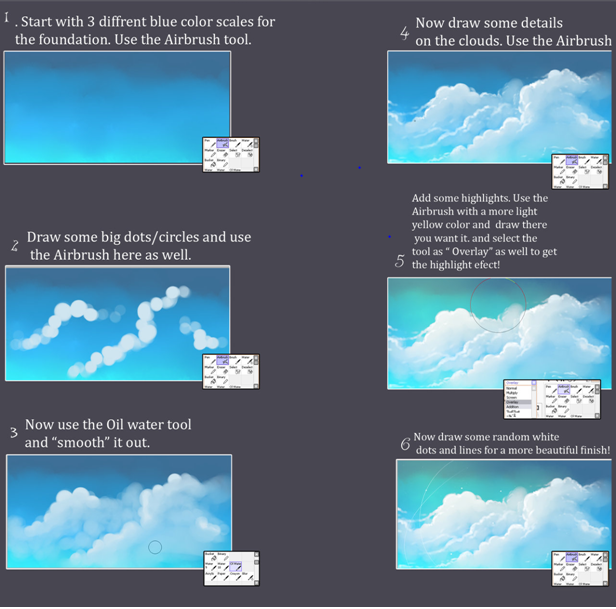
Etapa 1 Utilizați trei scale de culoare albastră diferite pentru fond de ten.
Etapa 2 Desenați câteva puncte mari și cercuri
Etapa 3 Utilizați pictura în ulei pentru a crea netezime.
Etapa 4 Detalierea norilor se face cu ajutorul pensulei.
Etapa 5 Unele puncte și linii albe aleatorii sunt desenate pentru un finisaj mai bun.