
Here are some amazing facts about the tiger which I would like to share, before moving on to the tutorial on how to draw tiger. Tiger is the largest species belonging to the cat family. The force of their bite is 2nd strongest among all the carnivores.
- How to Draw a Duck
- How to Draw a Hoods
- How to Draw a Graffiti
- How to Draw a Goat
- How to Draw a Knight
- How to Draw a Water
- How to Draw a Turtle
- How to Draw a Dolphin
- How to Draw a Shopkins
- How to Draw a Braid
- How to Draw a Panda
- How to Draw a Fox
- How to Draw a Soccer Ball
- How to Draw Furries
- How to Draw a Pig
- How to Draw Comics
- How to Draw a Diamond
- How to Draw a Pumpkin
- How to Draw an Animal Ears
- How to Draw an Oval
- How to Draw an Emojis
- How to Draw a Cube
On getting mature, they always move alone and have a life span of about 14yrs. Their night vision helps them become vicious predators during the night also. Due to poaching and extensive decrement in wildlife areas, it has led to the endangerment of one of the greatest animals. There are only around 3500 tigers left in the wild.
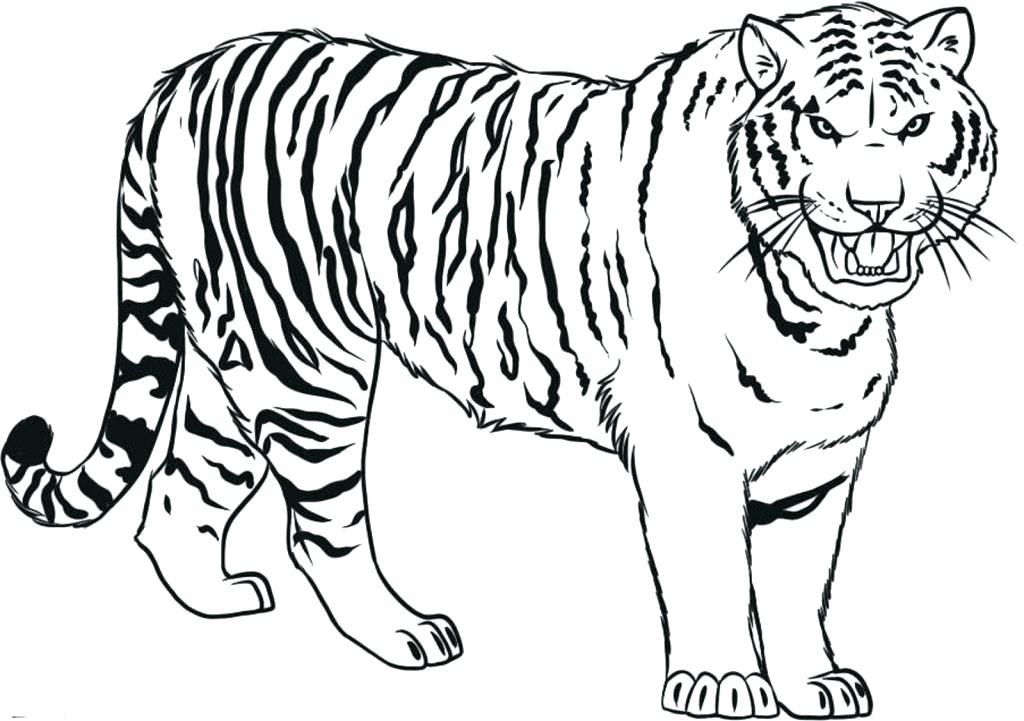
Tiger Drawing Images/Pictures
After practicing the tutorial, it is your task to sketch all the figures of tigers that I am giving below. After completion send me your work for rewards. Follow the steps carefully as it requires some small things that needs to be taken care of.


How to Draw Tiger for kids?
Step 1 First we will draw a perfect circle for the tiger’s head and then draw an oval for the neck attached to the head followed by a larger oval for the body. Then draw the outline for the eyes and the legs.

Step 2 Draw triangular shaped ears on top of the head. Draw a U shape to form the chin.

Step 3 We will now work upon the face of the tiger. Draw a W shape within the previous U to make an open mouth and mark the nose as demonstrated. Draw 2 small circles for the eyes.

Step 4 Draw the front legs including the paws and start working with the back legs.

Step 5 Complete the hind legs and shape the tail. Draw the ankles and claws in his feet. Start detailing the tiger bit by bit. Instead of continuous lines in the head and the body break them into small parts so that it looks furry. After this, remove the unwanted lines. Also don’t forget to lightly detail the eyes.

Step 6 This step includes all the detailing. Draw the whiskers and mustache. Detail the thighs and head first by shadowing with soft strokes to show the fur. Now we need to draw the stripe pattern all over the body which will be done using thick dark strokes made continuously.

Step 7 Last step includes the coloring of the tiger. You can take help of the figure below to get an idea of what colors to use. After that, the ferocious tiger is ready to pounce on you.

Steps to Draw Tiger Face
Step 1 Draw a large circle for the head.

Step 2 Draw fur on both the sides of the circle by continuing a pattern of short curved lines.

Step 3 Erase the circular outline.

Step 4 Connect the top of the head by using a simple curved line including U shaped ears. And then form the fur of the chin below with short spiky lines.

Step 5 We will now draw the dark pattern on the face of the tiger. Draw multiple thick curved lines just below the head and also in the ear as shown in the figure. Just below it , draw oval shaped slanted eyes.

Step 6 Draw the nose and the basic outline for an open mouth which is in the shape of a bucket.

Step 7 Draw the sharp canines in the top and bottom of the mouth using a series of sharp pointed curves.

Step 8 Draw similar dark patterns on both the sides of the face.

Step 9 Darken the eyes and the inner portion of the mouth as illustrated.

Step 10 Color your picture to make it look real. That’s it you are done with your picture.
