Clouds Drawing: Wow clouds!!! مرحبا الاطفال, how are you all doing? Personally speaking, I am very fascinated of clouds. In my childhood, I was always used to stare at the different shape of the clouds which I found very interesting.
- كيفية رسم بوكيمون
- كيفية رسم بيكاتشو
- كيفية رسم الفم
- كيفية رسم اليد
- كيفية رسم سوبرمان
- كيفية رسم نجمة
- كيفية رسم سونيك
- كيفية رسم كرة السلة
- كيفية رسم دماغ
- كيفية رسم كب كيك
- كيفية رسم ايموجي
- كيفية رسم التقبيل
- كيفية رسم الفأر
- كيفية رسم أنف
- كيفية رسم الأسد
- كيفية رسم قرد
- كيفية رسم سيارة
- كيفية رسم ديدبول
- كيفية رسم غزال
- كيفية رسم عبقور
Sometimes it would resemble some real life object such as animal, toys, إلخ. The night time was the prettiest when the dark blue sky was filled with stars. During thunderstorms, the violent clouds and the thunderous sounds used to scare the hell out of me. Now let’s get back to how to draw clouds.
في هذا البرنامج التعليمي, I will be teaching you to draw various different types of clouds from simple to complex ones. The outlining part would be easy but the main work is to shade.
I hope you guys are practicing other pictures for your own practice to make your hand artistic. Remember that drawing cannot be spoon-fed into someone. It requires a lot of hard work, imagination and innovative ideas. So besides practicing all the pictures that I am teaching you. Try to sketch whatever comes into your mind in a piece of paper. These ideas would be original as they have come from you only no one else. Try be unique and lets draw clouds now…
So children hurry up and grab your pens and paper as we will riding into the realm of clouds.
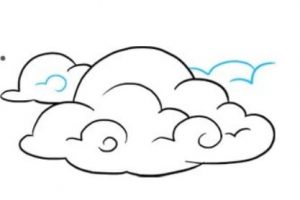
How to Draw a Simple Cute Cloud?
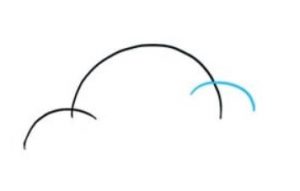
خطوة 1 Draw an open semicircle for the top of the cloud.
خطوة 2 Another small curved line is drawn cutting the above one, to extend the region of the cloud.
خطوة 3 Another small curved line is drawn in the opposite side to make the cloud look fluffy.
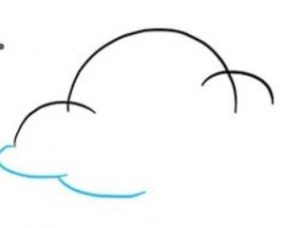
خطوة 4 A series of connected curved lines are drawn to form the base of the cloud from one side which continues upto the other side.
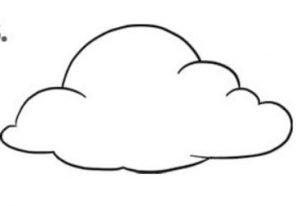
Side 5 Erase the lines where the clouds overlap.
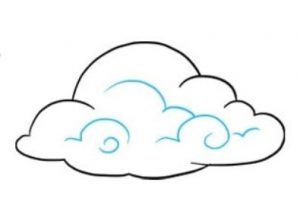
خطوة 6 Now we try to increase the texture of the cloud. We will draw several curved lines within the cloud to give a fluffy appearance and also form some spirals.
خطوة 7 We will draw another cloud just behind it by the same process of connected curved lines to give it a fluffy shape.
خطوة 8 Fill the interior of the new cloud just the way we did it before and color it with light blue shades.
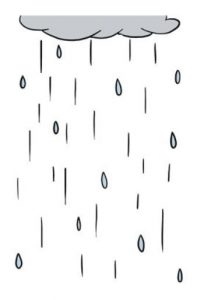
How to Draw a Rain Cloud?
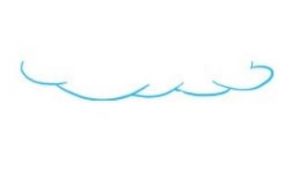
خطوة 1 Draw a serious of connected curved lines to form the bottom of the cloud.
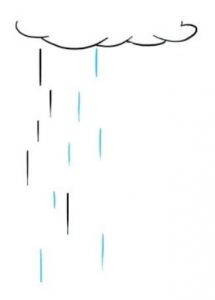
خطوة 2 Now we will draw streaks of rain beneath the cloud by a number of short straight lines of different lengths.
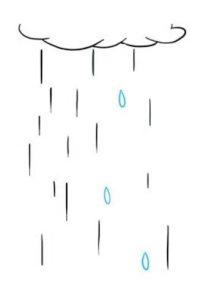
خطوة 3 Now draw water drops along with the rain streaks.
خطوة 4 Fill your drawing with straight lines and droplets to complete your drawing.
How to Draw a Thunderstorm Cloud?
خطوة 1 Draw an open semicircle for the top of the cloud.
خطوة 2 Another small curved line is drawn cutting the above one, to extend the region of the cloud.
خطوة 3 Another small curved line is drawn in the opposite side to make the cloud look fluffy.
خطوة 4 A series of connected curved lines are drawn to form the base of the cloud from one side which continues upto the other side.
Side 5 Erase the lines where the clouds overlap.
خطوة 6 Now we try to increase the texture of the cloud. We will draw several curved lines within the cloud to give a fluffy appearance and also form some spirals.
خطوة 7 Now draw stretched Z shaped lightnings below the base of the cloud to complete your drawing.
How to Draw a Mushroom Cloud?
خطوة 1 First draw a large egg shaped figure for top of the cloud and beneath it draw another small egg shape. Connect both the figure by a long vertical line passing through the middle of them and draw a horizontal to intersect the vertical line near about at the middle.
خطوة 2 Following the circular outline, draw a series of curved connected lines to form a tree like structure both at the top and below. These are connected by concave lens kind of shape.
خطوة 3 In this step we will draw more cloud shapes in the larger cloud at the top to make it look fluffy. A big ring is drawn around the concave structure. And in the lower shape we draw small series of curves.
خطوة 4 Draw more cloud lines inside the larger cloud to complete the shape. Draw another small ring inside the larger ring. Draw a number of curved lines at the bottom of the concave structure. امسح كل الخطوط العريضة.
خطوة 5 This is the final picture of the mushroom cloud.
How to Paint a Cloud?
خطوة 1 Use three different blue color scales for the foundation.
خطوة 2 Draw some big dots and circles
خطوة 3 Use oil painting to create smoothness.
خطوة 4 Detailing of the clouds is done using the brush.
خطوة 5 Some random white dots and lines are drawn for a better finish.


