مرحبا الاطفال, كيف حالك? التنانين مخلوقات رائعة حقًا مما جعل طفولتي رائعة. I know many kids who love playing with small toy dragons. So why not try something new and learn how to draw a dragon? I have a surprise for you children, in this tutorial you will also be learning about how to draw a dragon head?
- كيفية رسم بوكيمون
- كيفية رسم بيكاتشو
- كيفية رسم الفم
- كيفية رسم اليد
- كيفية رسم سوبرمان
- كيفية رسم نجمة
- كيفية رسم سونيك
- كيفية رسم كرة السلة
- كيفية رسم دماغ
- كيفية رسم كب كيك
- كيفية رسم ايموجي
- كيفية رسم التقبيل
- كيفية رسم الفأر
- كيفية رسم أنف
- كيفية رسم الأسد
- كيفية رسم قرد
- كيفية رسم سيارة
- كيفية رسم ديدبول
- كيفية رسم غزال
- كيفية رسم عبقور
All these tutorials will help a lot to make your hand artistic. We all know practice makes a man perfect. So keep on practicing and enjoy what you do. For achieving something in life never let your confidence decrease. I am making all these tutorials so that a lot of people get to know about this art as it is still unexplored. These are the initial stages which will make will help you in your upcoming days.
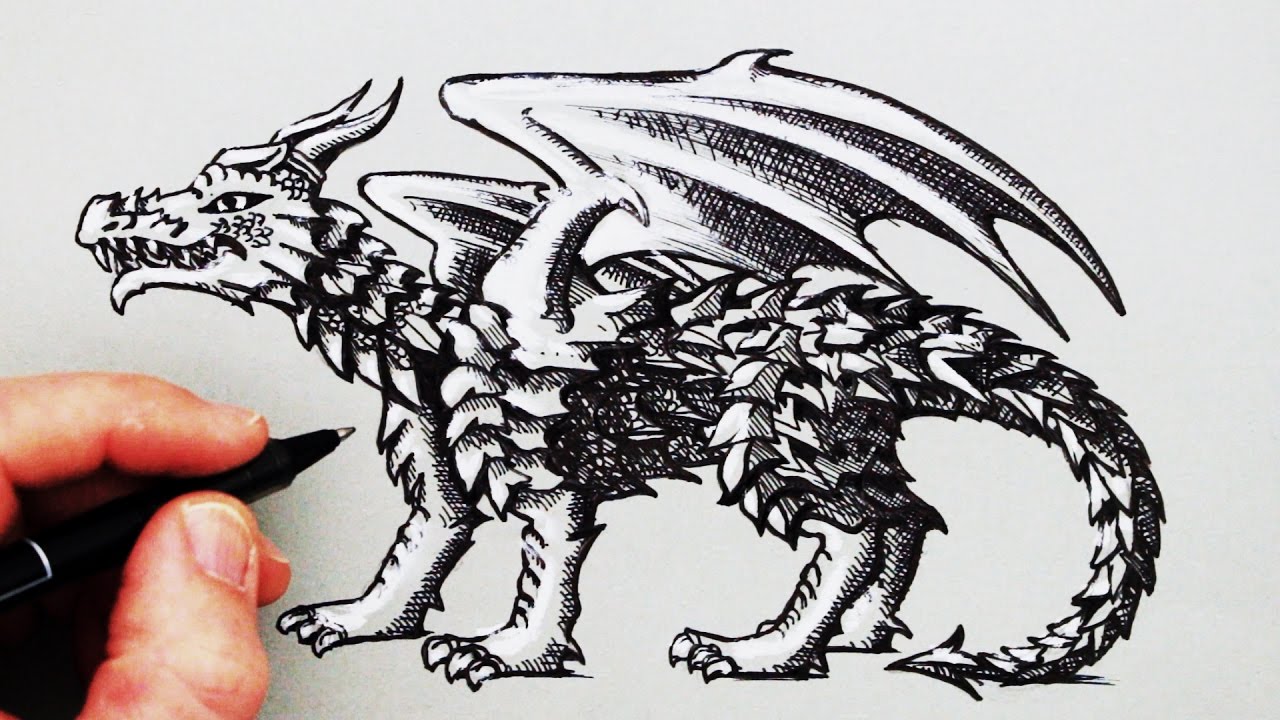
Drawing a dragon will become quite simple for you when you follow my steps. In this tutorial I have tried to minimize the steps as possible and draw a cool dragon. Hope u enjoy.
Dragon Drawings in Pencil
When you are a beginner never use a pen as you won’t be able to rectify your mistakes. Children you should never be nervous when you are unable to draw something. Just hold a pencil and I am pretty sure you will find everything in one of my links and be relaxed and sketch it up.
First for an artist to grow, all the drawings should be done with an pencil before switching to any other medium because he/she can learn all about strokes and then you will be ready to draw with anything
How to Draw a Dragon Easy for Kids?
Hey there kiddo? Wanna draw a dragon? Get your pencil and blank sheet of paper and get ready! Within a few minutes you will be ready with your own cartoon sketch. Make your friends jealous and parents proud. Are you ready?
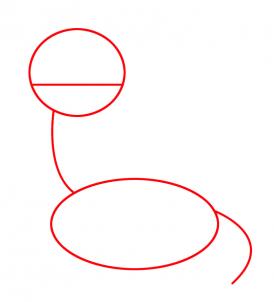
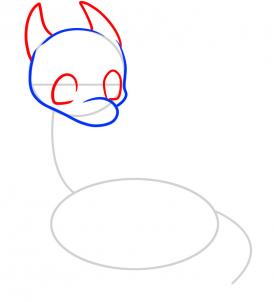
خطوة 1: First make a round shape for the head. Then draw a line from the head below for the neck. Join that line to an oval shape which will be the body. Add a tail line at last and go to step 2.
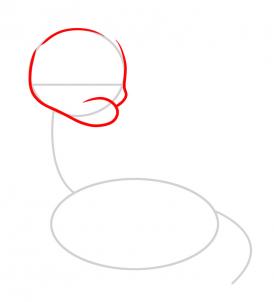
خطوة 2: Since the outline is now ready. We need to darken the outlines of the head and add a shape as illustrated for the nose.
خطوة 3: Draw horns which are curved conical like shapes and form the eyes which are D like shapes.
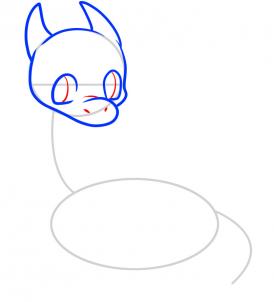
خطوة 4: Now draw thin lines within the eye which represents the eyeballs and mark the nostrils.
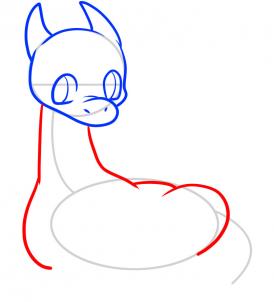
خطوة 5: Now we will start with the body. Start drawing a line to form a thick neck and move along to form the back by following oval shape and make it curved to form a fluffy shape.
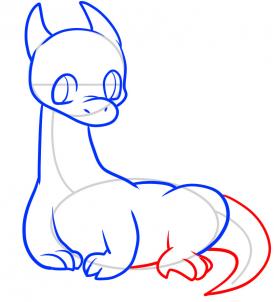
خطوة 6: Draw the front legs as illustrated and make sure each finger tip is pointed.

خطوة 7: From the left leg draw the belly and then draw the back leg with the foot. At last draw a curved bit thick dragon tail.
خطوة 8: Remove all the outlines and draw the wings.
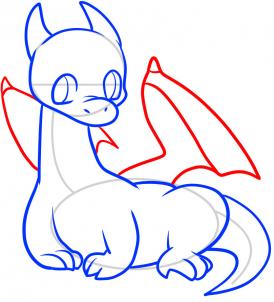
خطوة 9: Colour the dragon you like.

How to Draw a Dragon Head Step By Step?

خطوة 1: Draw a V like shape and continue to draw small lines parallel to each other to form the beak. Add some curves for the snout and a tongue if you require.
خطوة 2: From the top of the snout add a line to form the top portion of the face as shown. Lengthen the jawlines and draw the teeth.
خطوة 3: The eye is formed by drawing a V shape sideways. Increase the depth of the eye as shown. The pupil is drawn as a thick oval.
خطوة 4: The fins are drawn by series of curves.
خطوة 5: We then draw a series of pointed curves which forms the top of the face. These spine like shapes gives it a serpent look. We draw a curved oval for the nostril.
خطوة 6: The neck is formed by drawing wavy lines. Shading is done for more effects and circles shows the scales.
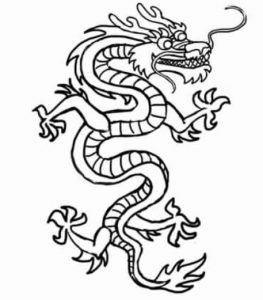
How to Draw a Chinese Dragon?
Chinese dragons are much respected in the Chinese community as they are worshipped and considered as a symbol of luck and power. It is believed that they can fly even if they don’t have wings.
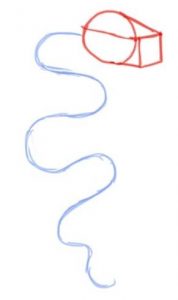
خطوة 1: First of all we draw the body of the dragon, which is a long curvy line as illustrated.

خطوة 2: Now we build the dragon’s head and snout. We draw a round shape at the top of the line. Then draw a cubical shape protruding out of the circle.
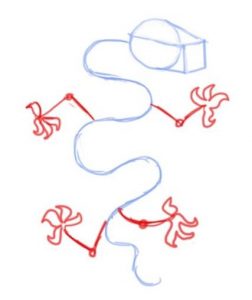
خطوة 3: Now draw 2 pairs of small triangular lines from the main curved line which indicates the legs. Mark the joints and draw claws at each end.
خطوة 4: Now we draw the eyes and spiky eyebrows on the top two cubical edges. Use the outline of the cube to draw the mouth and snout.
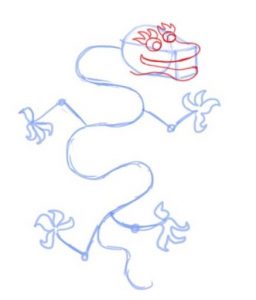
خطوة 5: Next we draw small spiky curves below the mouth which shows the hair.
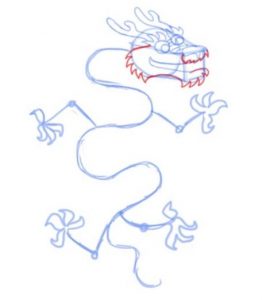 خطوة 6: Draw the teeth and whiskers as shown.
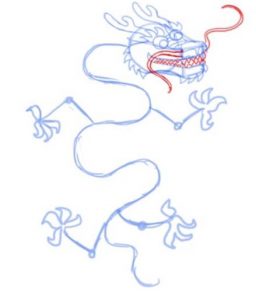
خطوة 7: Remove the circle and cube outline.
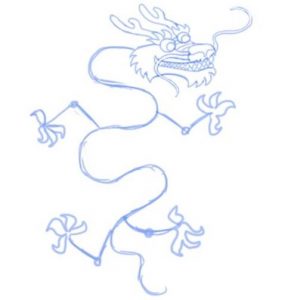
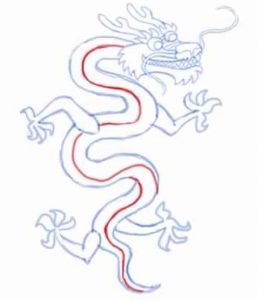
خطوة 8: Keeping the single curved line in between, يرسم 2 lines beside it which forms the body of the dragon.
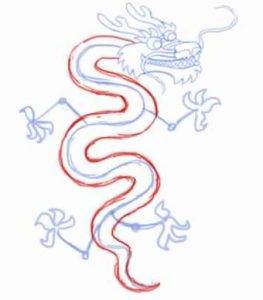
خطوة 9: Follow the same steps for the legs. Keep in mind that the legs should be narrower near the claws.
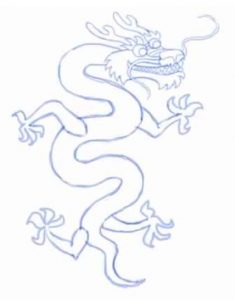
خطوة 10: Completely erase all the outlines.
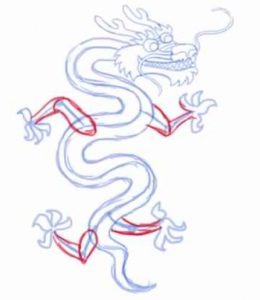
خطوة 11: Now we draw a line in between the body which forms the belly as shown in figure.
خطوة 12: Draw the dragon scales. There are various other ways to show the scales. I chose the simplest one.

خطوة 13: Draw some shallow curves around the back of the dragon, leg joints and the tail to complete the dragon.
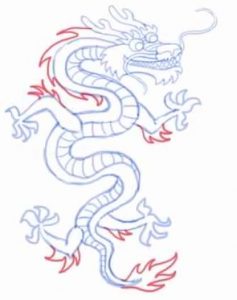
خطوة 14: Darken the figure to complete your dragon.