If you want to teach students How to Draw a Cube? You can get proper tutorial on this site. There are many steps available help you to draw a cube. You can visit this page for kids and adults.Cube is one of the most popular structure in mathematics.
- How to Draw a Fish
- How to Draw a Frog
- How to Draw a Heart
- How to draw a Robot
- How to draw a Teddy
- How to Draw a Tiger
- How to draw a Train
- How to Draw a Zebra
- How to draw a Fire
- How to Draw a Flower
- How to draw a House
- How to Draw a Rabbit
- How to draw a Ninja
- How to draw a Smoke
- How to draw Shoes
- How to draw Ears
We all have heard about cube but the structure feels a bit complicated while drawing. Today in this article we are going to learn how to draw a cube with a stepwise guide. Before proceeding forward I think we should learn a bit about the Cube.
What is a cube?
A cube is basically an area which is formed by the joining of six identical squares from. Their edges. To create the vertex, three edges get joined with each other. The another name by which a cube can also be called is a regular hexahedron. Cube is also one out of the five regular polyhedrons that can also be known as the Platonic solids.
A cube is composed of various parts let us have a look over them:
Face
Edge
Vertex
Face Diagonals
Space Diagonals
How to Draw a Cube Step by Step
Below is the step wise guide which will help you in drawing a perfect cube.
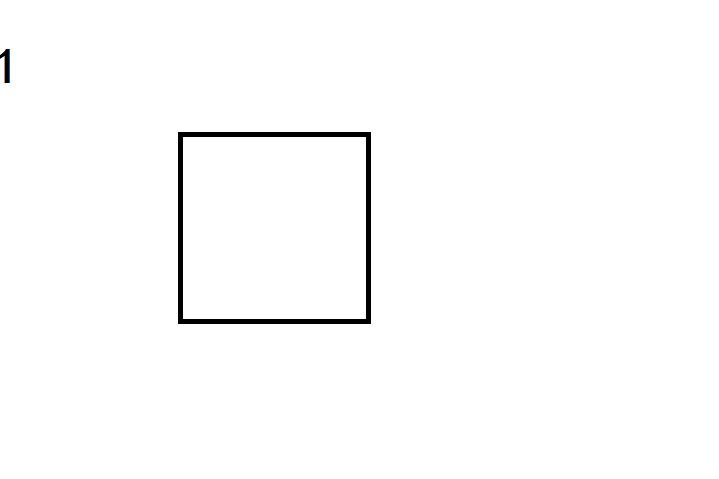
Step 1 : First of you you have to draw a normal square take care each sides should be equal.
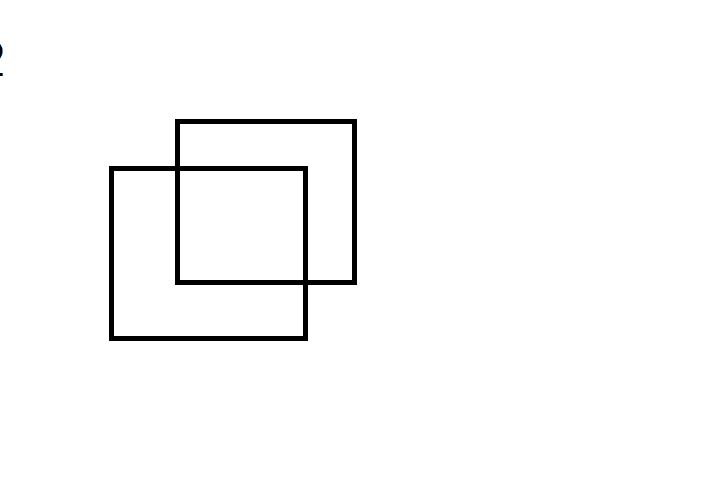
Step 2 : Now, you have to draw a similar square as the previous one overlapping each other (as shown in the figure below).
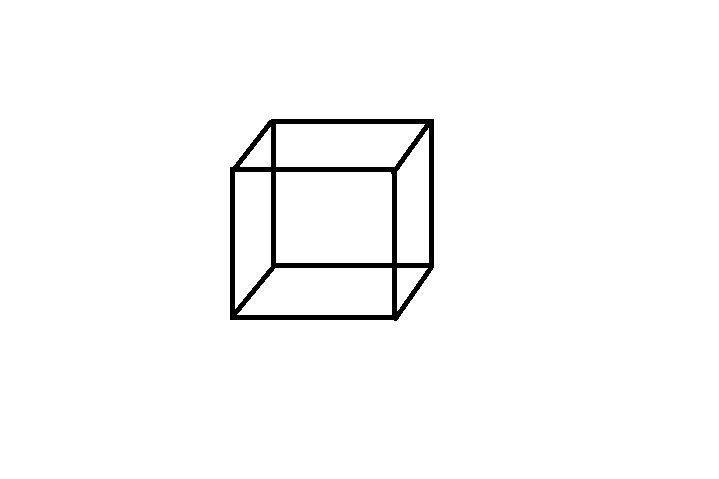
Step 3 : Now, you have connect these both squares by drawing lines from the corners of each square as shown in image.
Step 4 : At this point, you can also color your cube to make it look beautiful.
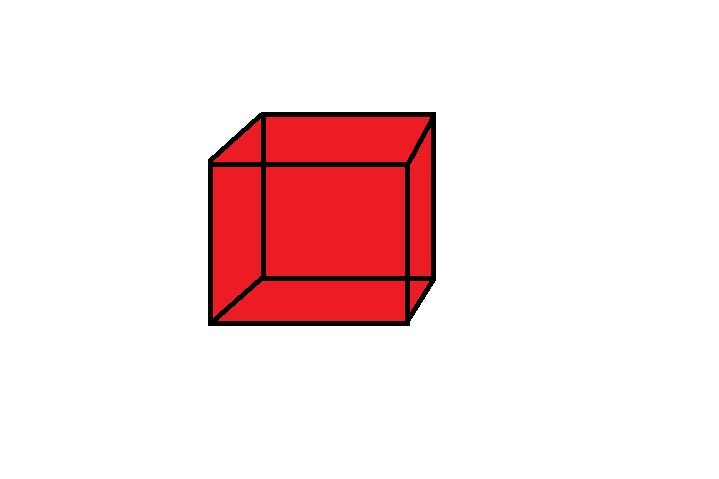
Now, finally your cube is ready.
Method to Draw a Cube in Perspective
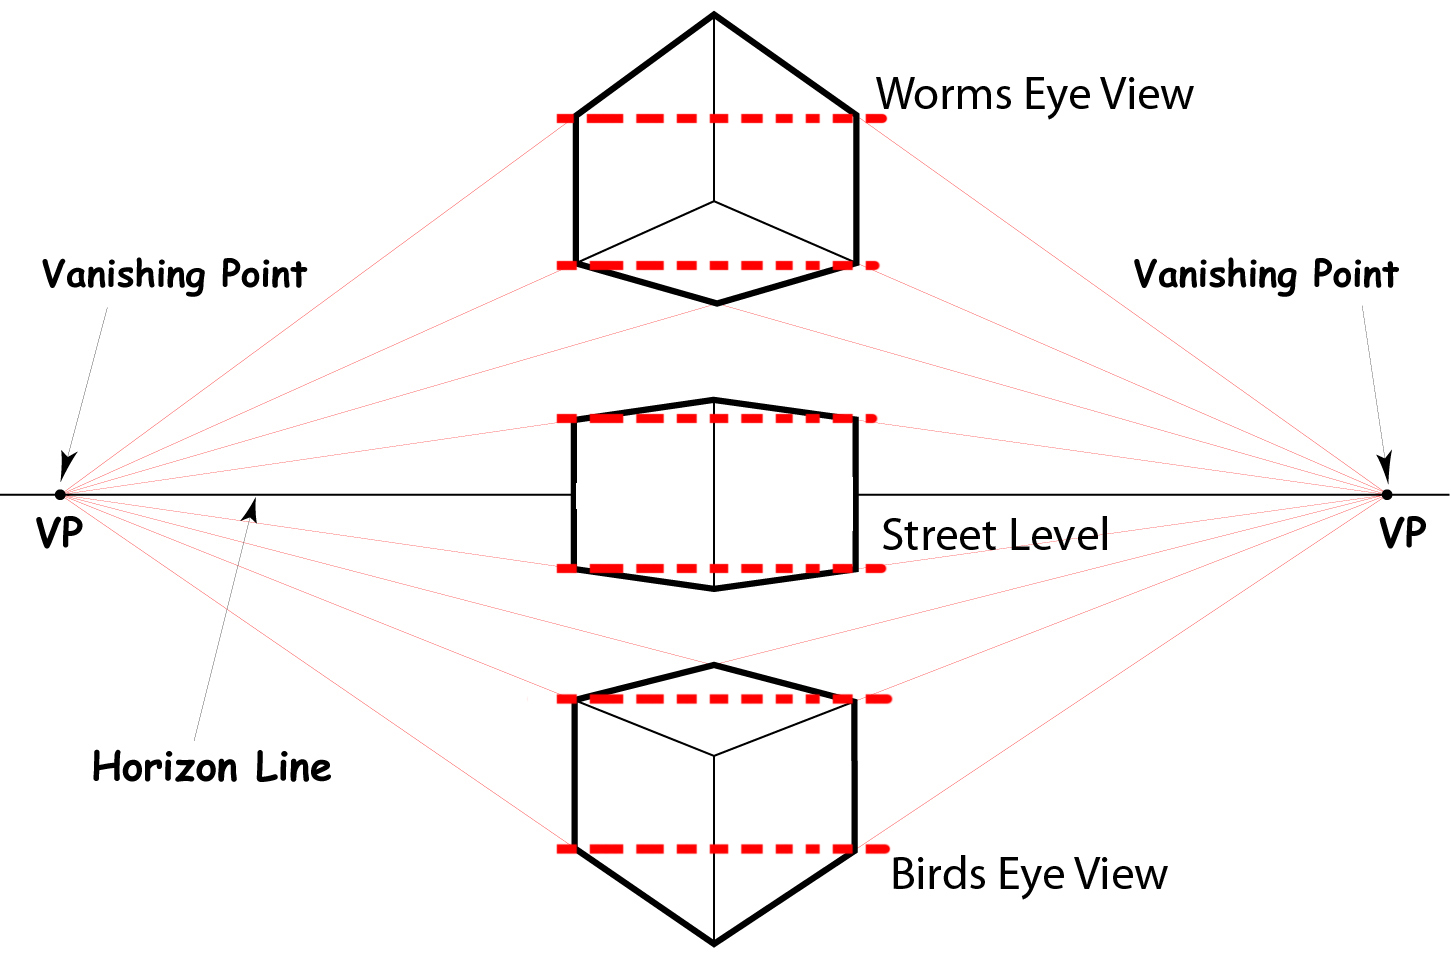
At first, you have to find out the up, down, left and right directions. Next you need to draw a straight line horizontally from left to right. This will help by separating each point for the viewer’s eye level. The points at left and right are known as vanishing point as the cube becomes smaller at these points.
* After this, you have look where the front face of the edge of cube will appear. After this you need to draw straight lines from both vanishing points meeting at the 90 degree. If the point of meeting is towards the left side then you will be going to see the cube has turned towards left similarly if the meeting point is more towards the right side then you will see the cube has turned towards right.
* Next, you need to measure the distance taken from the distance point to the perspective point. Now you have to measure the following distances across the line of horizon. By joining these lines you will get your measuring points.
* Now, you have to pick a point across the vertical which will become the bottom of your cube’s front corner (corner4). After it you have to draw lines from this corner joining to the vanishing points.
* Next, you are required to draw a line upside which will account how tall you want your cube. So in this way the height of your cube will depend on the distance of viewer. At last draw a horizontal line having same length as of the corner 4.
* Afterward you have to drew a line from the end of these points, the location where vanishing line intersect with the corner 4 will known as the corner 2 and 6.
* Now, draw the lines from top corner towards the back till the vanishing points. Afterwards draw vertical lines from corner 6 and 2 and the points where they meet will known as corner 1 and 5.
* Last but not least draw lines from. The corner 1 and 5 towards the vanishing points and the intersection point will be known as corner 3.after connecting these corners we will finally get our cube ready.
Way to Draw a Cube Online
* First of all draw a straight vertical line and then from the upper tip draw two lines making a structure like Y.
* Next, from the tip of both newly drawn lines draw vertical lines in downward direction. After this, join these lines with the first line you have drawn as shown in figure.
* Afterwards, make a L shape line to complete the box.
So, at last your cube is finally prepared.
